Welcome to the training video for the Terminator Infinity. This video will cover the set up and basic operation of the Terminator Infinity; including an overview of the controls, attaching and adjusting the tooling, and how to effectively charge the machine.
The Infinity is an all-day battery ride-on floor scraper that is effective in removing many types of flooring material.
CONTROLS OVERVIEW AND BASIC OPERATION (00:16)
The Infinity is equipped with an hour meter and battery life indicator.
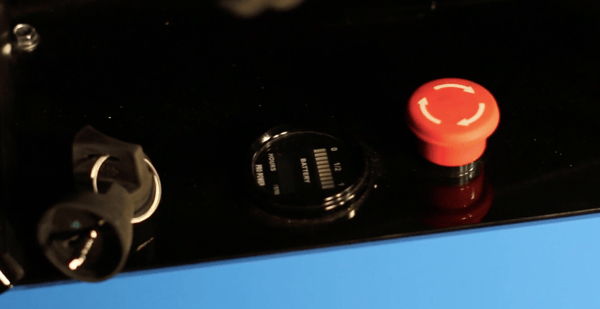
To start the unit, twist the emergency stop button until it pops up, then turn the key to the ON position. (00:27)
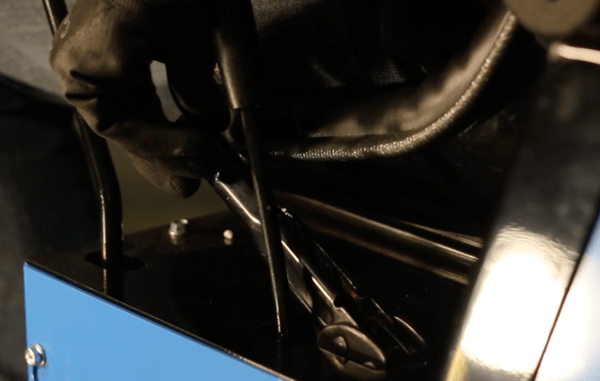
The Infinity is equipped with an emergency break. To engage the break,pull the lever backwards. To release the break, push the lever forward. (00:37)
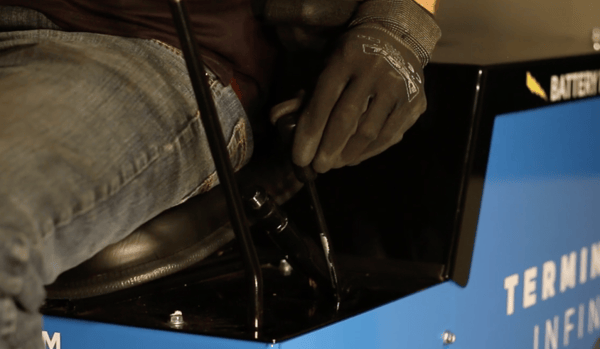
To adjust the pitch of the jaw, you can use the hydraulic pitch control lever, located on the left side of the operator. To increase the pitch of the jaw,push the lever forward. To decrease the pitch, pull the lever back. (00:48)
To move the machine forward, push the driving levers forward. To reverse the machine, pull the levers back. (01:04)

The Infinity operates similar to a skid steer; To turn the machine right, push the left driving lever forward. To turn the machine left, push the right driving lever forward. (01:12)
ATTACHING AND ADJUSTING THE TOOLING (01:23)
To attach the tooling holders to the unit, remove the pin by pressing down on the release button. With the pin removed, insert the tooling holder into the jaw opening. Once the tooling holder is in place, line up the holes on the jaw and the tooling, to reinsert the pin to lock it in place.
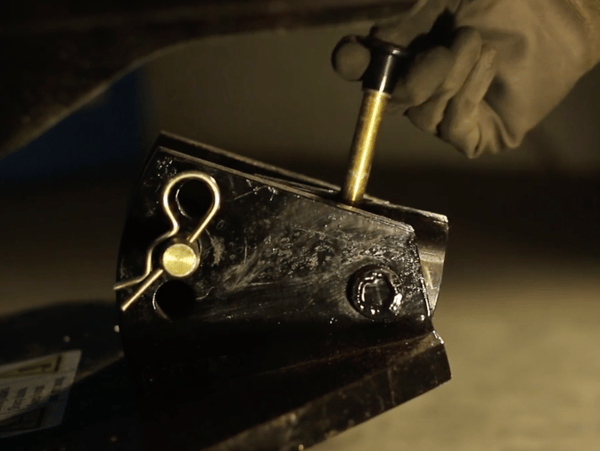
The jaw has 2 hole positions: (01:48)
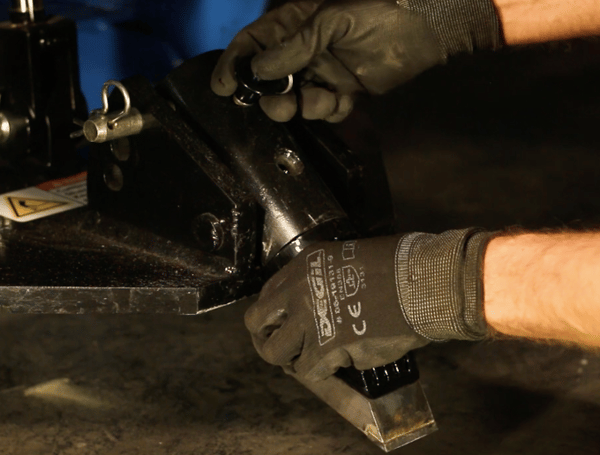
- The back hole position is used when you want a swivel head function on your tooling. The swivel head functioning allows the tooling to move with the contours of the floor.
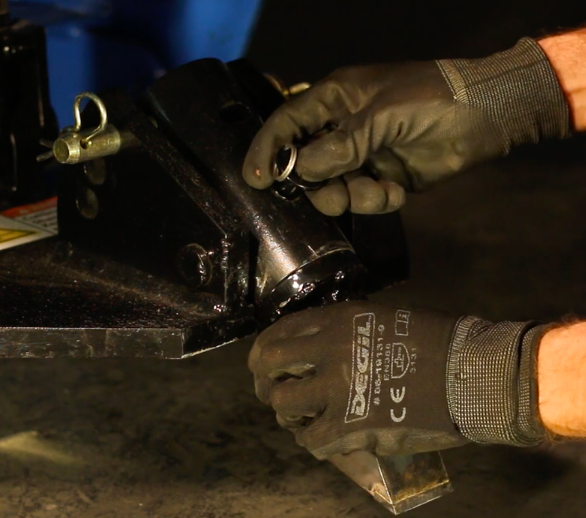
- The front hole position is used when you want a ridged head function. This prevents the tooling from moving side to side.
All the Terminator tooling holders are designed to fit into the jaw the exact same way.
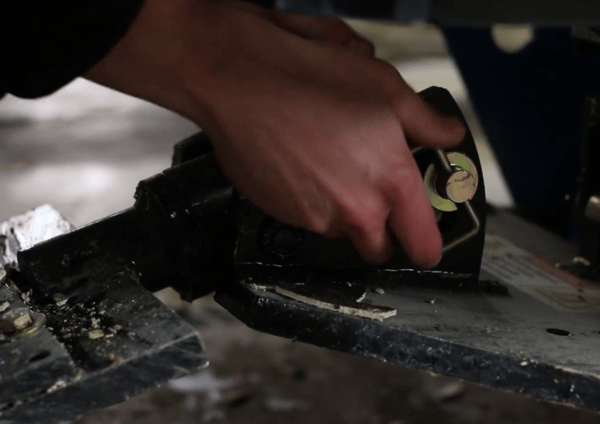
To change the angle of the jaw, remove the pin, and then move the jaw into the desired position and reinsert the pin. The adjustable jaw provides a wider range of pitch options and gives better weight distribution for more effective removals. (02:19)
HOW TO CHARGE THE INFINITY (02:35)
The Infinity comes standard with two, 120 volt, on-board battery chargers.Other power options are available.
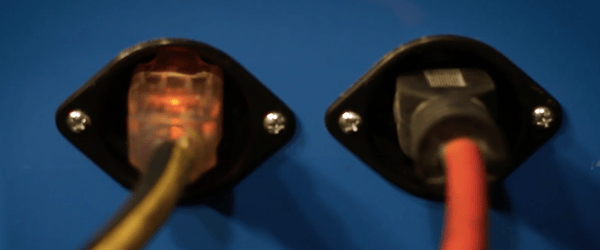
The left side outlet is the primary charger. The right outlet is the trickle charger.
The trickle charger performs as a charging booster, and provides 30% faster charging time when used with the primary charger.
To begin charging, simply plug in 1 or 2, 12 gauge extension cords.
*Remember- if you only one cord available, you must plug it into the primary charging outlet.
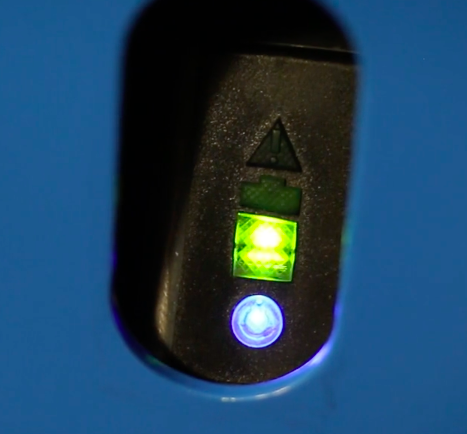
1 flashing green light indicates the unit is charging. 2 flashing green lightsindicates the unit is 80% charged. When both lights are no longer flashing, this indicates charging is complete. (03:11)
The Infinity is designed with forklift channels. These channels are used for both lifting the unit, and as tie down points when transporting. (03:24)

When removing material, it is important to select the right pitch. (03:32)
If your pitch is too high, you may damage or gouge the floor. If your pitch is too low, you may graze over the material instead of removing it.
We hope this video has been helpful in the set up and operation of the Terminator Infinity. If you have anymore questions, contact us.

