This video blog is a quick overview on the set-up and basic operation of the BEF 200N Scarifier. It will explain how to change the scarifer cage, position the adjustable handle, how to start the machine, how to begin scarifying, proper scarifying technique, and a few other important tips and suggestions.
Welcome to the Bartell Global training video for the BEF 200N Concrete Scarifier.
The BEF 200N is a 200 mm, or 8-inch scarifier used for reducing profiles on concrete, removing coatings and other materials, cleaning and texturing concrete, and grooving application.
CHANGING THE SCARIFIER CAGE (00:21-01:03)
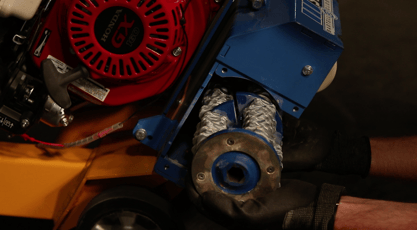
- First remove the 4 outside bolts located on the side panel of the unit.
- Once the bolts are removed, remove the side panel to expose the cage.
- Remove the cage by sliding it off the shaft.
- To install a new cage, simply slide the new tooling cage onto the shaft.
- Reinstall the side panel and install the bolts and tighten securely.
POSITIONING THE ADJUSTABLE HANDLE (01:04-01:34)

- To move the handle into the desired position, loosen the black knob located at the base of the handle.
- Once loosened, you can then move the handle into your desired position then retighten the knob.
*Pre Start-Up: Before starting the unit it's important to ensure that the cage is fully clear of the floor surface. -Use the fine adjustment wheel to lift the cage clear of the surface.
- To lift the cage, rotate the fine adjustment wheel counterclockwise.
- Once the cage is lifted fully, pull back on the quick lift handle.
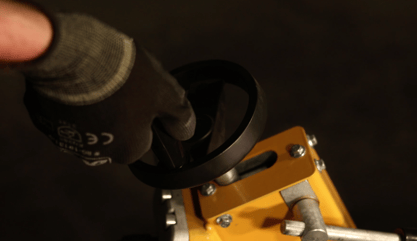
STARTING THE BEF 200N (01:35-02:14)
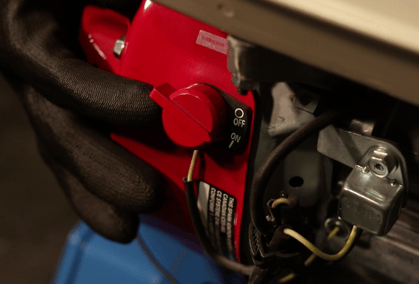
- To start the engine, turn the ON/OFF switch to the ON position.
- Open the fuel line by pushing the black tab to the right.
-
If the engine is cold, move the gray choked to the left, to close the choke.
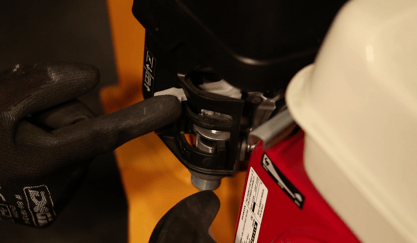
- If your BEF 200N is equipped with an emergency stop handle, fully engage the lever before pulling the pull cord.
- Once the engine is warm, open the choke and move the throttle to your desired speed.
*Depending on your region, the start-up procedure for an electric model may vary. Refer to your manual for model specific start-up information.
HOW TO BEGIN SCARIFYING (02:15-02:29)
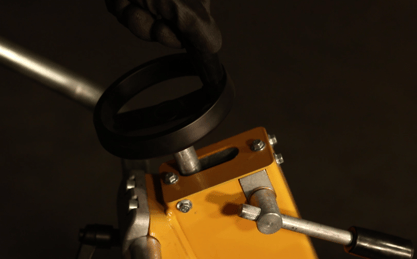
- To beginning scarifying, lower the quick lift handle.
- Slowly rotate the fine adjustment wheel clockwise, until the cutters engage with the surface and your desired depth is reached.
PROPER SCARIFYING TECHNIQUE (02:30-03:20)
- When scarifying, it's important to avoid burying the tooling and cage into the concrete.
- To operate the unit correctly, it's critical to allow the tooling enough space for the tooling remain loose on the shaft, so it can freely flail at the concrete surface.
- If the drum is lowered too far, the cutters will be pinned between the drum and the surface. This prevents the proper operation of your tooling, and increases the potential for damage to your unit.
- To control the dust caused through operation of the unit, connect your dust extractor hose to the dust port located at the base of the machine.

